
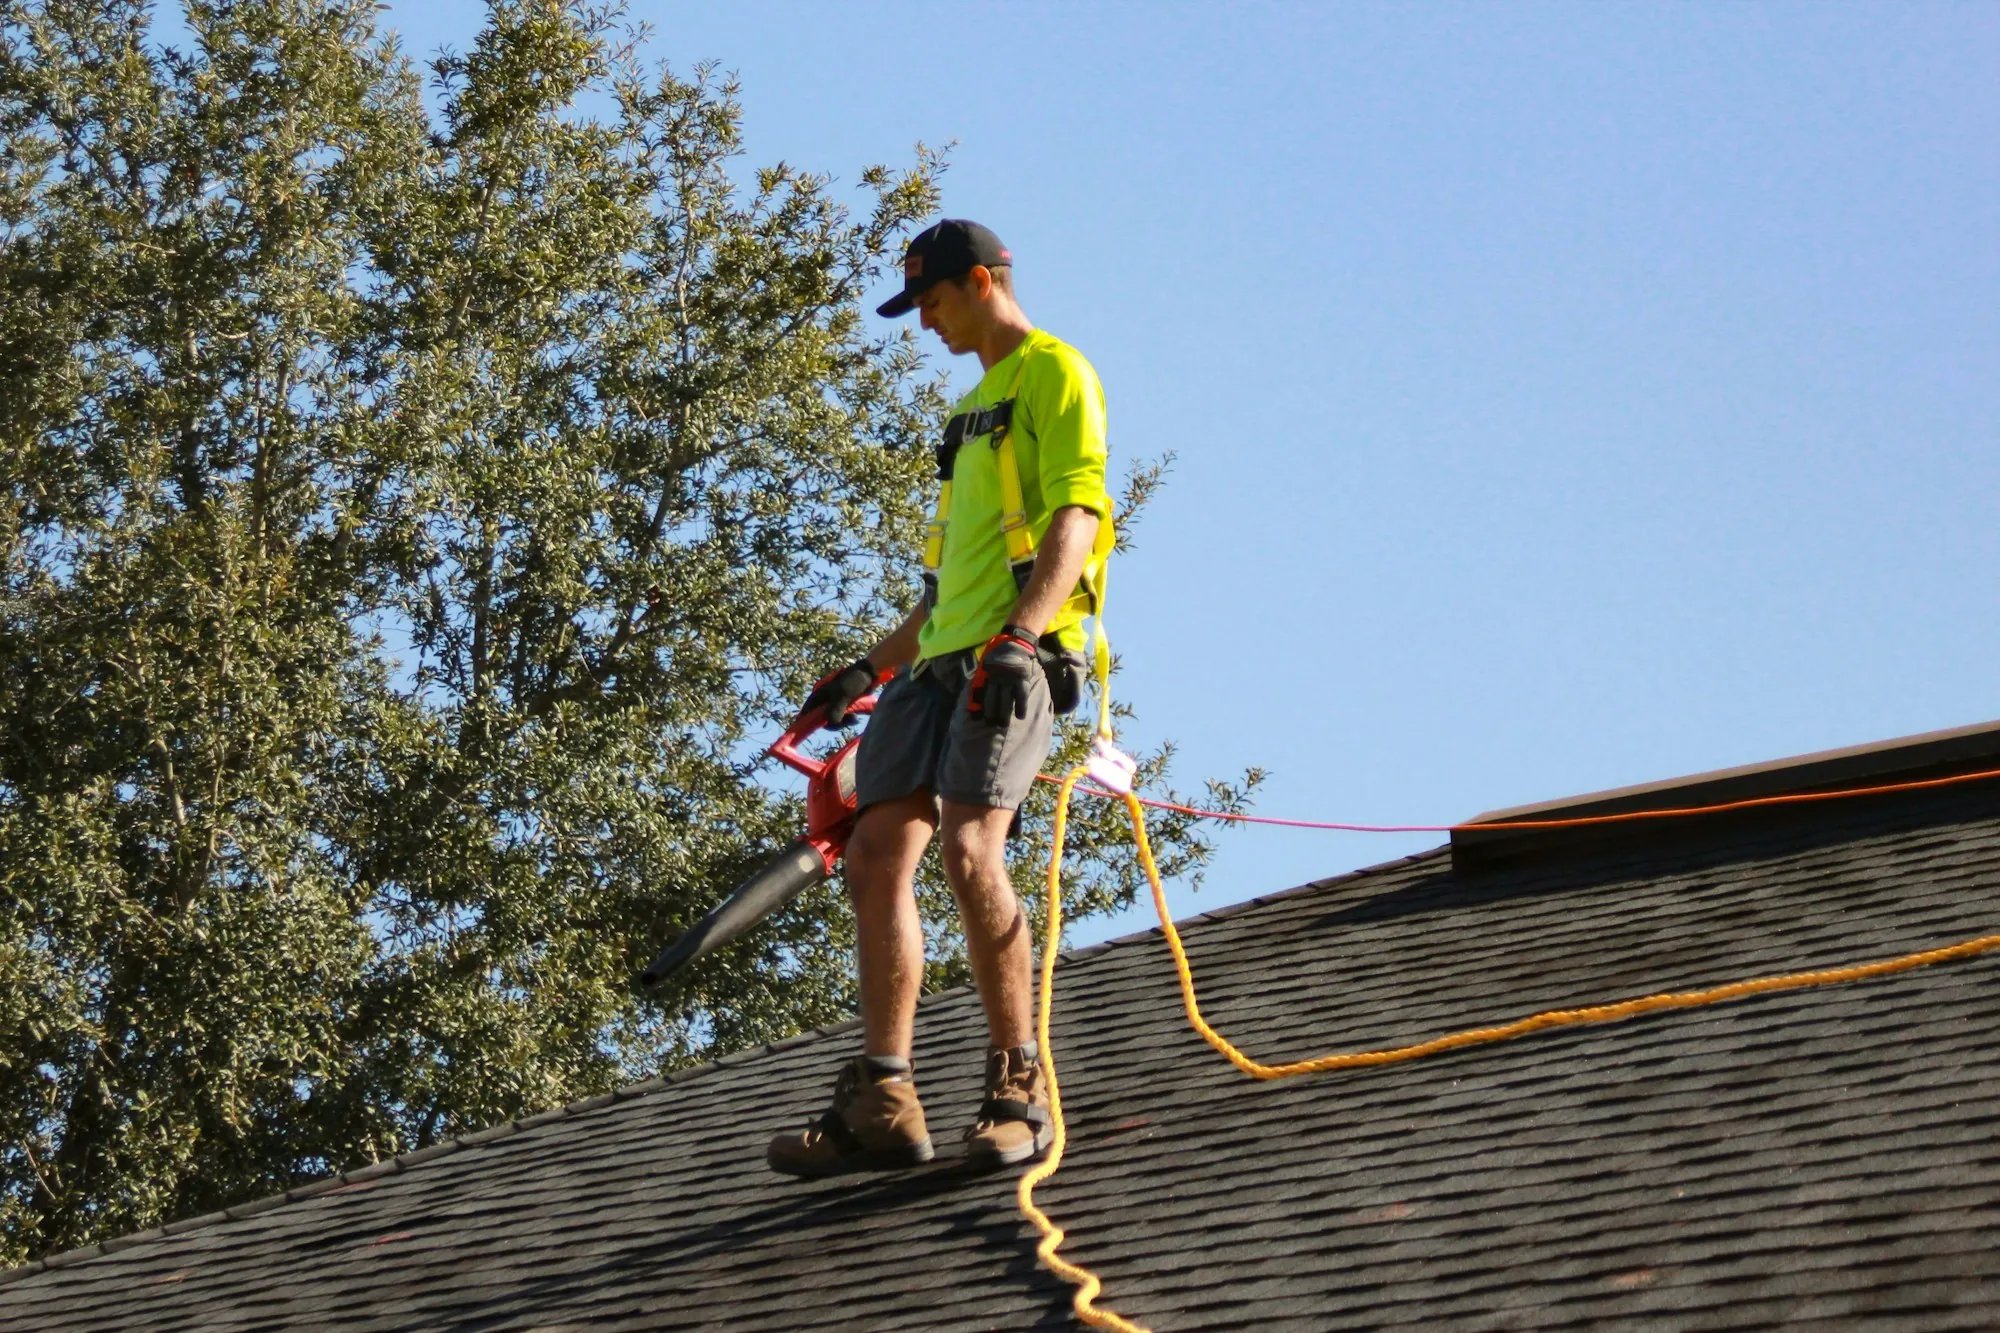
A solar panel detach and reset is the job of taking a working rooftop array off the house so the roof can be replaced, keeping every part safe while the roofers work, and rebuilding the system on the new roof so it produces power again. The process runs in a fixed order for a reason: each step protects the next one. Skip the shutdown and the people on the roof are at risk. Skip the tagging and the rebuild turns into guesswork. Skip the new flashing and the new shingles start leaking at the very bolts that hold the array down.
Here is that order, step by step, the way it plays out on a typical Worth home.
Key takeaways
- A detach and reset has two halves: a careful teardown before the old roof comes off, and a rebuild after the new roof is finished.
- The array has to come off completely. The roof cannot be replaced around the panels, the rails or the mounts.
- Electrical shutdown always comes first, because a sunlit solar module produces voltage whenever light hits it.
- Every module and part should be tagged to its spot and logged, so the system goes back together the way it was designed.
- New flashing at each roof penetration is what keeps the new roof dry under the array.
- The job is not done until the system is reconnected and confirmed producing power.
Step 1: Document the system before anything moves
The first step of a detach and reset is a record of the system exactly as it sits. That means photos of the array layout, the wiring runs, the conduit path down the wall and the equipment near the meter, plus a reading of what the system is producing that day.
This baseline matters later. If the reset ends with lower output than the system showed before teardown, the before reading is the only way to tell whether something changed during the job or whether the system was already underperforming. It also gives the homeowner a plain record to keep with the roofing paperwork.
Step 2: Shut the system down and isolate it
Shutdown is the step that makes every other step safe. Solar modules generate electricity any time daylight reaches them, so the array is never truly “off” just because the inverter display goes dark. The system has to be shut down at the correct disconnects and verified de-energized before a single connector is unplugged.
Newer arrays are built around a code requirement called rapid shutdown. According to an IAEI Magazine explainer on NEC section 690.12, the rule exists so firefighters and other first responders can quickly control the circuits leaving an array, with controlled conductors brought down to no more than 30 volts within 10 seconds of initiation. That is helpful for a reset crew too, but it is not a substitute for testing. Equipment and code editions vary from house to house, so the circuits are checked, not assumed.
Step 3: Take the modules, rails and conduit off
Removal is the step where the whole array leaves the roof, not just the glass. The US Department of Energy states it plainly: during a roof replacement, the solar panels and mounting system need to be removed to complete the work.
Modules come off first
Each module is unclipped from the rails, its connectors are separated and capped, and it is carried down by hand. Modules are large, flat and easy to crack if they flex or get set down on a corner, so they move one at a time.
Then the racking and conduit
With the modules down, the rails and their attachments come up, followed by any conduit and wiring that runs across the roof surface. What the roofing crew wants is a bare deck with nothing left to work around.
Step 4: Tag, inventory and store every piece
Tagging is what turns a pile of identical-looking parts back into the same system. Each module gets a label tied to its position in the array, and the rails, clamps, mounts and hardware are counted and logged on an inventory sheet.
That sheet is the rebuild map. Arrays are wired in specific groupings, and putting modules back in a different arrangement can change how the system performs. Storage comes next: the components are kept somewhere dry and out of the path of ladders, tear-off debris and dumpsters for as long as the reroof takes. On a Worth lot where the driveway doubles as the roofer’s staging area, getting the panels off the property and out of harm’s way is usually the safer call.
Step 5: Let the roof get replaced, permit and all
The reroof itself belongs to the roofer, and the detach and reset crew steps back while it happens. In Worth, roof replacement is one of the projects the village says needs a permit and inspection; the Village of Worth Building Department notes that a job cannot start without a permit and that a final inspection follows completion. The roofer typically pulls that permit, but it is worth confirming who is responsible before the dumpster arrives.
This stage is also the right moment to coordinate the mount layout. The roofer knows where the new decking, vents and valleys sit, and the reset crew knows where the rails need to land. A short conversation before shingles go down can keep a new vent from ending up where a mount belongs.
Step 6: Set new mounts and flash every penetration
New mounts and new flashing are what protect the new roof once the array goes back up. Every bolt that anchors the racking passes through the roof, and each one is a spot where water could get in if it is not sealed correctly.
The Department of Energy’s Building America Solution Center lists mounting brackets for solar panels among the roof penetrations that must be properly flashed to prevent water entry, and calls penetrations a weak spot in the roof’s armor. Reusing the old flashing from a torn-off roof defeats the purpose of the new shingles. On a Cook County roof that sees freeze and thaw cycles and melting snow sitting against the array all winter, a well-flashed mount is not a detail to rush.
Step 7: Rebuild the array and reconnect
The rebuild follows the inventory map in reverse. Rails go onto the new mounts, the modules return to their tagged positions, wiring is routed and secured off the roof surface, and the connectors are reconnected in the original groupings.
Conduit runs are restored along their original path, and the system is brought back to its proper electrical configuration at the disconnects. Nothing is energized until the physical rebuild is complete and the connections have been checked.
Step 8: Test production and hand over the records
Testing is the step that proves the reset worked. Once the system is reconnected and switched back on, it should show it is producing power, and that output can be compared against the before reading from Step 1, keeping in mind that weather and time of day affect any single reading.
The homeowner should finish the job with the before and after photos, the inventory sheet and notes on what was replaced, such as mounts and flashing. If the system is leased, or if the home is enrolled in an incentive program, check the lease agreement or program terms for any notice requirements around removal and reinstallation, and confirm with the leasing company or your utility before work starts.
What to settle before the first ladder goes up
The order of the steps rarely changes, so the real decisions come before the job starts. Get the solar detach on the calendar ahead of the roofer’s tear-off date, not after the crew has already arrived, because a roofer cannot start until the array is down. Ask how the panels will be tagged and where they will be stored. Confirm that new flashing at every mount is part of the price, and ask how the final production check is done and documented.
If you are planning a reroof on a Worth home, or anywhere nearby like Chicago Ridge, Oak Lawn or Palos Hills, Solar Panel Removal Worth handles the full solar panel detach and reset and can plan it around your roof replacement under solar panels. More on how we work is on our home page.